Rug Making Has Never Been Easier! Here's some things you'll want to know...
Using a tufting gun, also known as a Rug Gun or carpet tufter, requires some technique and understanding of the tool's operation. Here's a step-by-step guide on how to use a tufting gun:
-
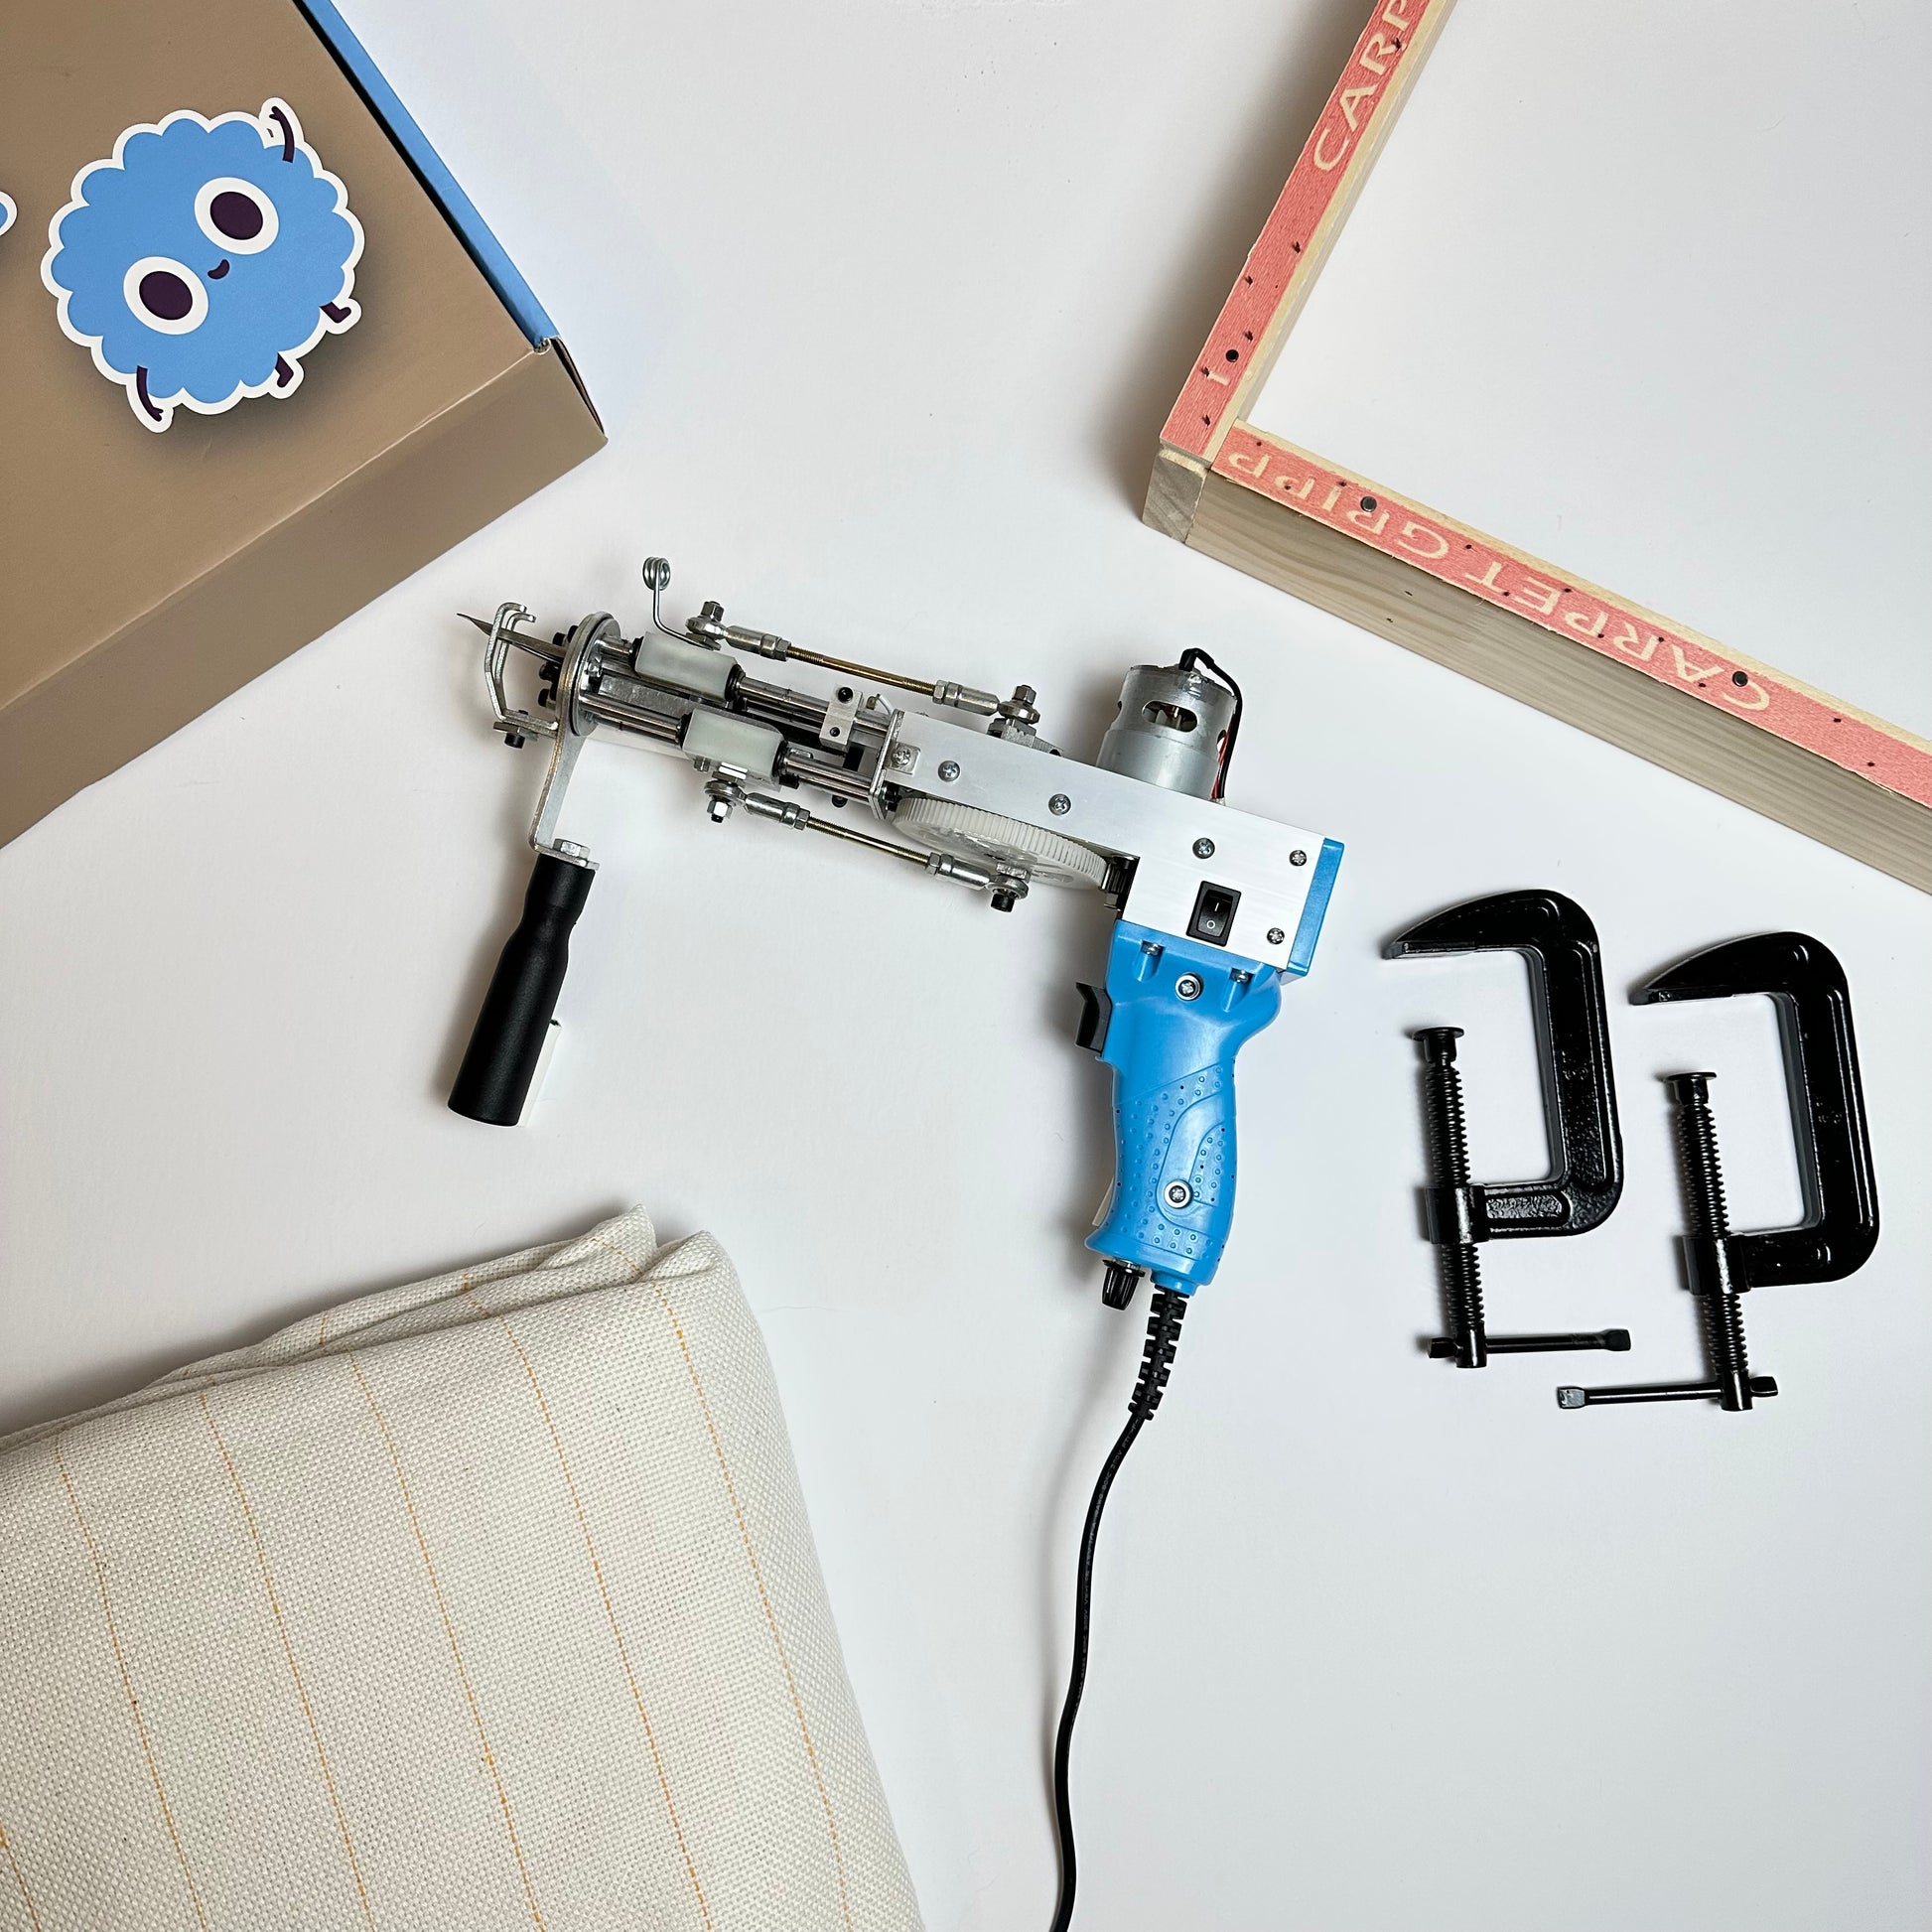
Familiarize yourself with the tufting gun: Watch a few of my helpful YouTube videos and understand the different parts of the tufting gun. It consists of a moving handle, a needle or loop holder, a trigger, and an on and off button on the left side of it.
-
Prepare your work area: Choose a clean and flat surface to work on. It's best to use a stable table or a workbench when using the frame we sell here on our website. Make sure you have enough space to maneuver the tufting gun comfortably and somewhere to lay it down and turn it off when it's time to insert your yarn.
-
Set up the fabric or backing: Place the fabric or backing material onto your frame and tighten each edge at a time. Ensure that your fabric is tight and secured in place and your frame is stable using the clamps provided.
-
Thread the tufting gun: Load the tufting gun with the desired color of yarn or thread. Use the loop threader to feed the yarn through the top loop and needle of your tufting gun.
-
Position the tufting gun: Hold the tufting gun in your dominant hand, ensuring a comfortable grip. Align the needle or loop holder with the area where you want to create tufts. Make sure the tufting gun is perpendicular to the fabric.
-
Start tufting: Gently press the trigger of the tufting gun to release the loop or needle through the fabric. Keep the gun pressed against the fabric firmly as you move along the desired pattern or design in an upward motion.
-
Create the desired pattern: Move the tufting gun smoothly and steadily across the fabric, following the design you have in mind. Take your time to ensure accuracy and even spacing between tufts. You don't need to rush and hold the trigger down constantly. You can slowly click the trigger and turn your tufting gun at your desired pace.
-
Change colors if necessary: If you want to switch to a different color of yarn or thread, you will need to unload the current thread from the tufting gun and load the new one. When doing this always make sure your tufting gun is off or unplugged so you don't accidentally press the trigger when putting your yarn into the tufting gun.
-
Finishing touches: Once you have completed tufting your design, inspect the rug or fabric for any loose threads or uneven tufts. Trim any excess yarn or thread, and make any necessary adjustments to ensure a neat and uniform appearance. You can use a trimmer such as the one we sell to clean up your lines and carve details into your rugs.
- Use glue of your choice to finish your rugs such as regular Elmers glue which works great! There is also a rug glue called AAT-1132 BY Bond Products that is very sturdy but it isn't completely necessary to spend the money on.
Remember to practice proper safety precautions when using a tufting gun. Wear protective eyewear and a mask if you'd like because sometimes yarn particles can float around you during your tufting session.
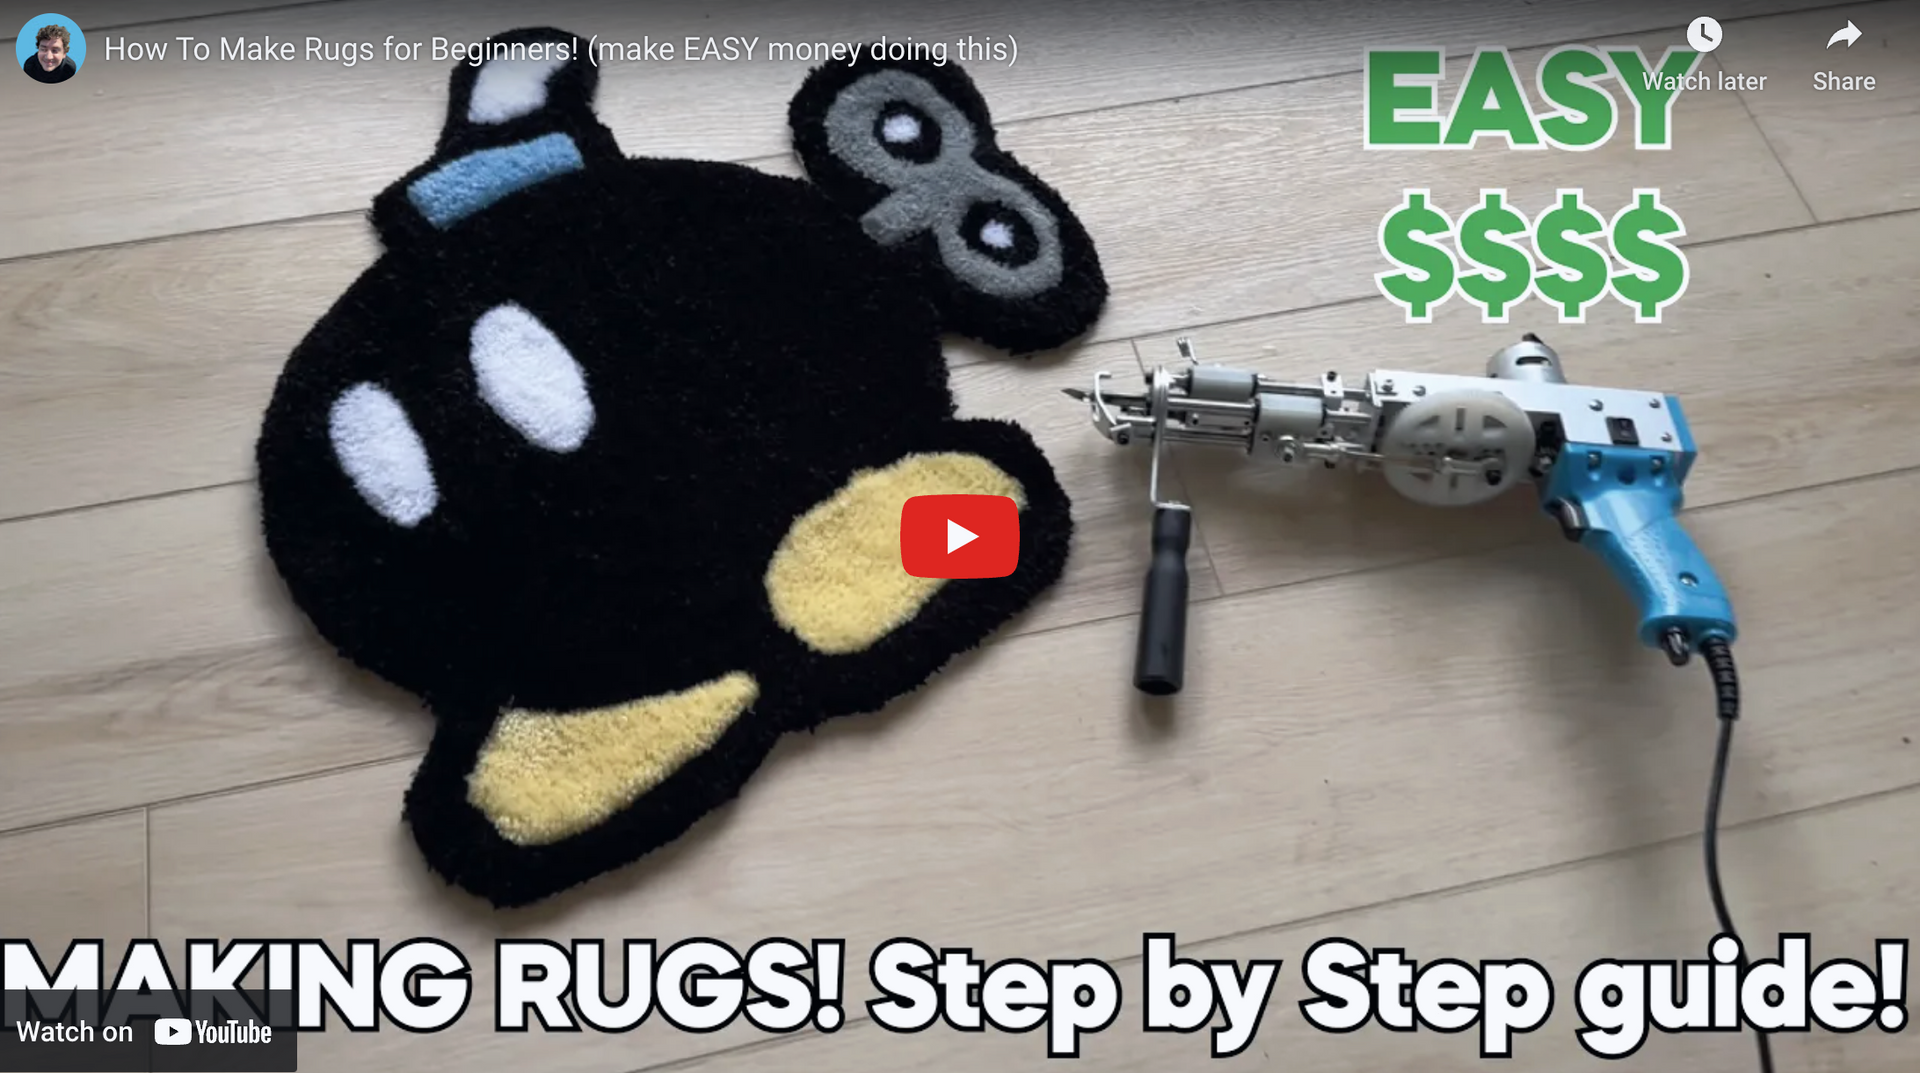
In Depth Video on How to Make Rugs!
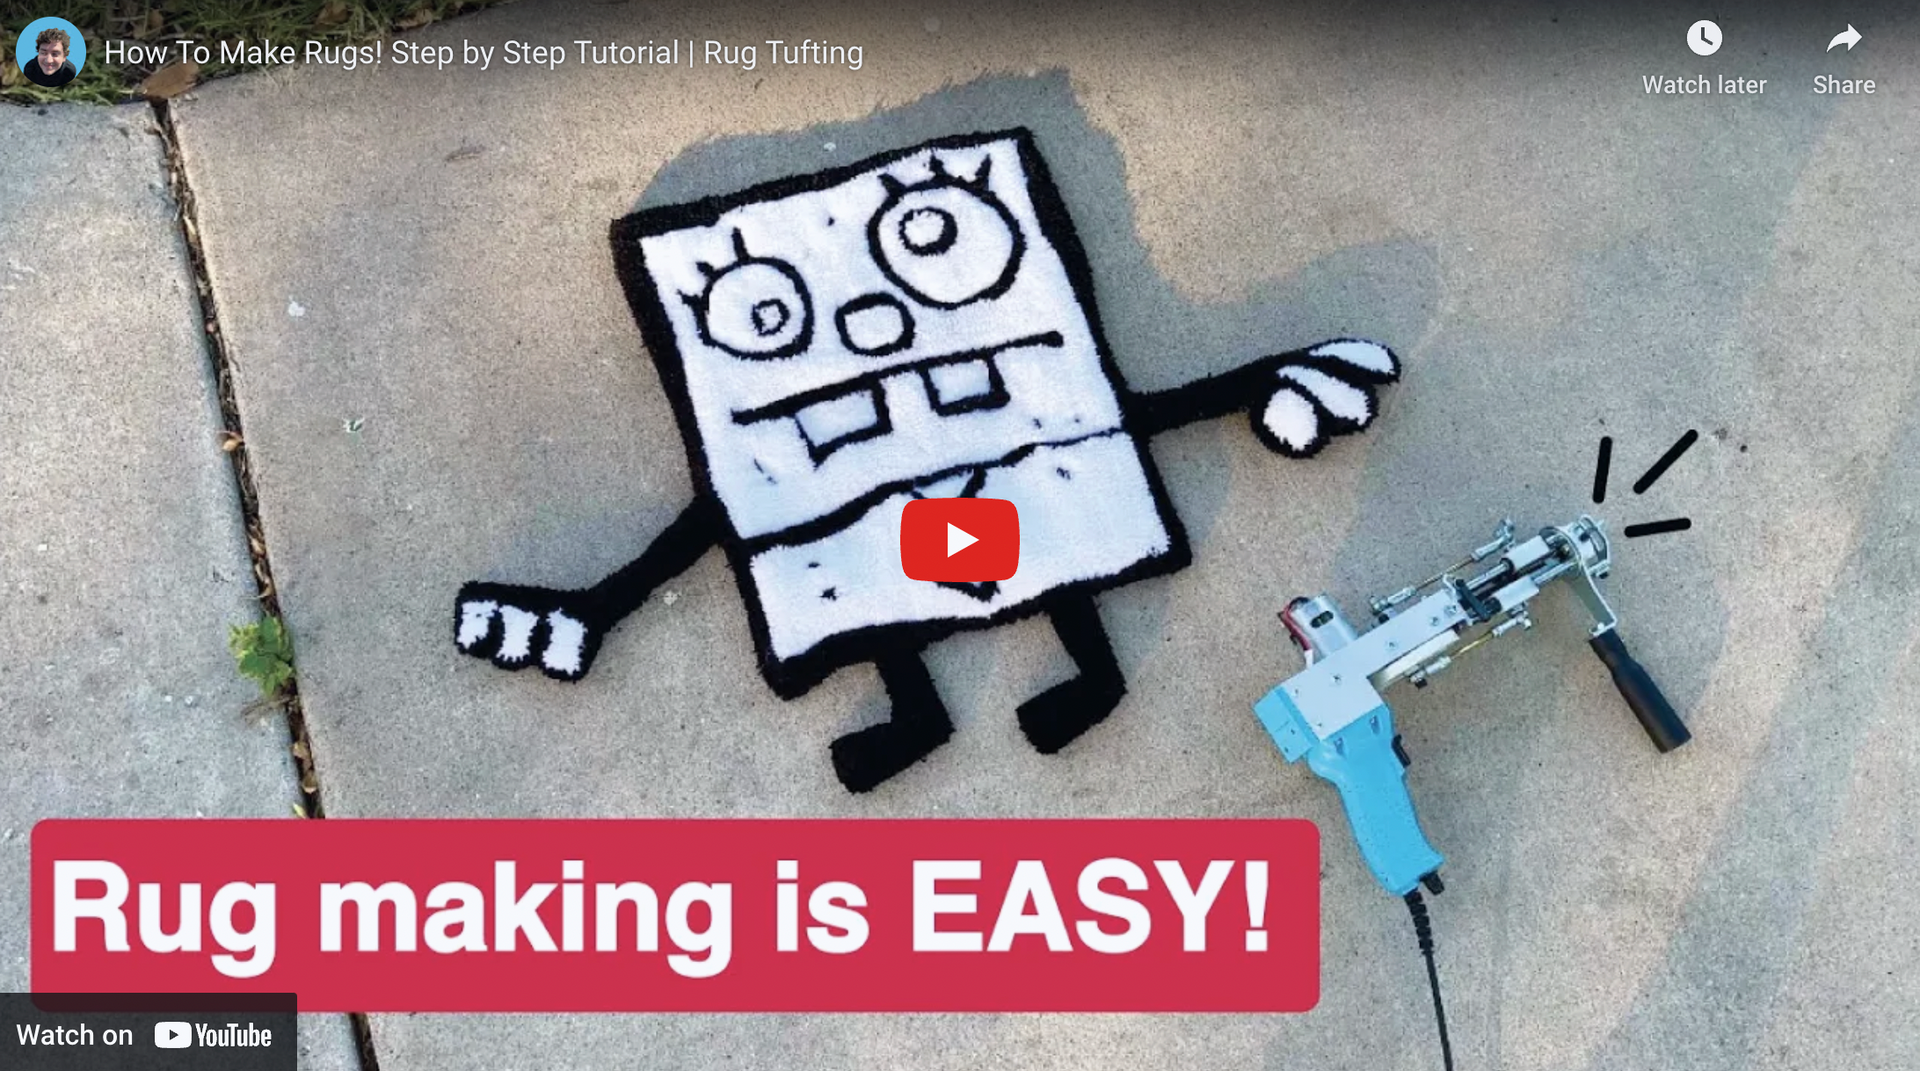
How To Make Rugs for Beginners! (Step by Step Guide)
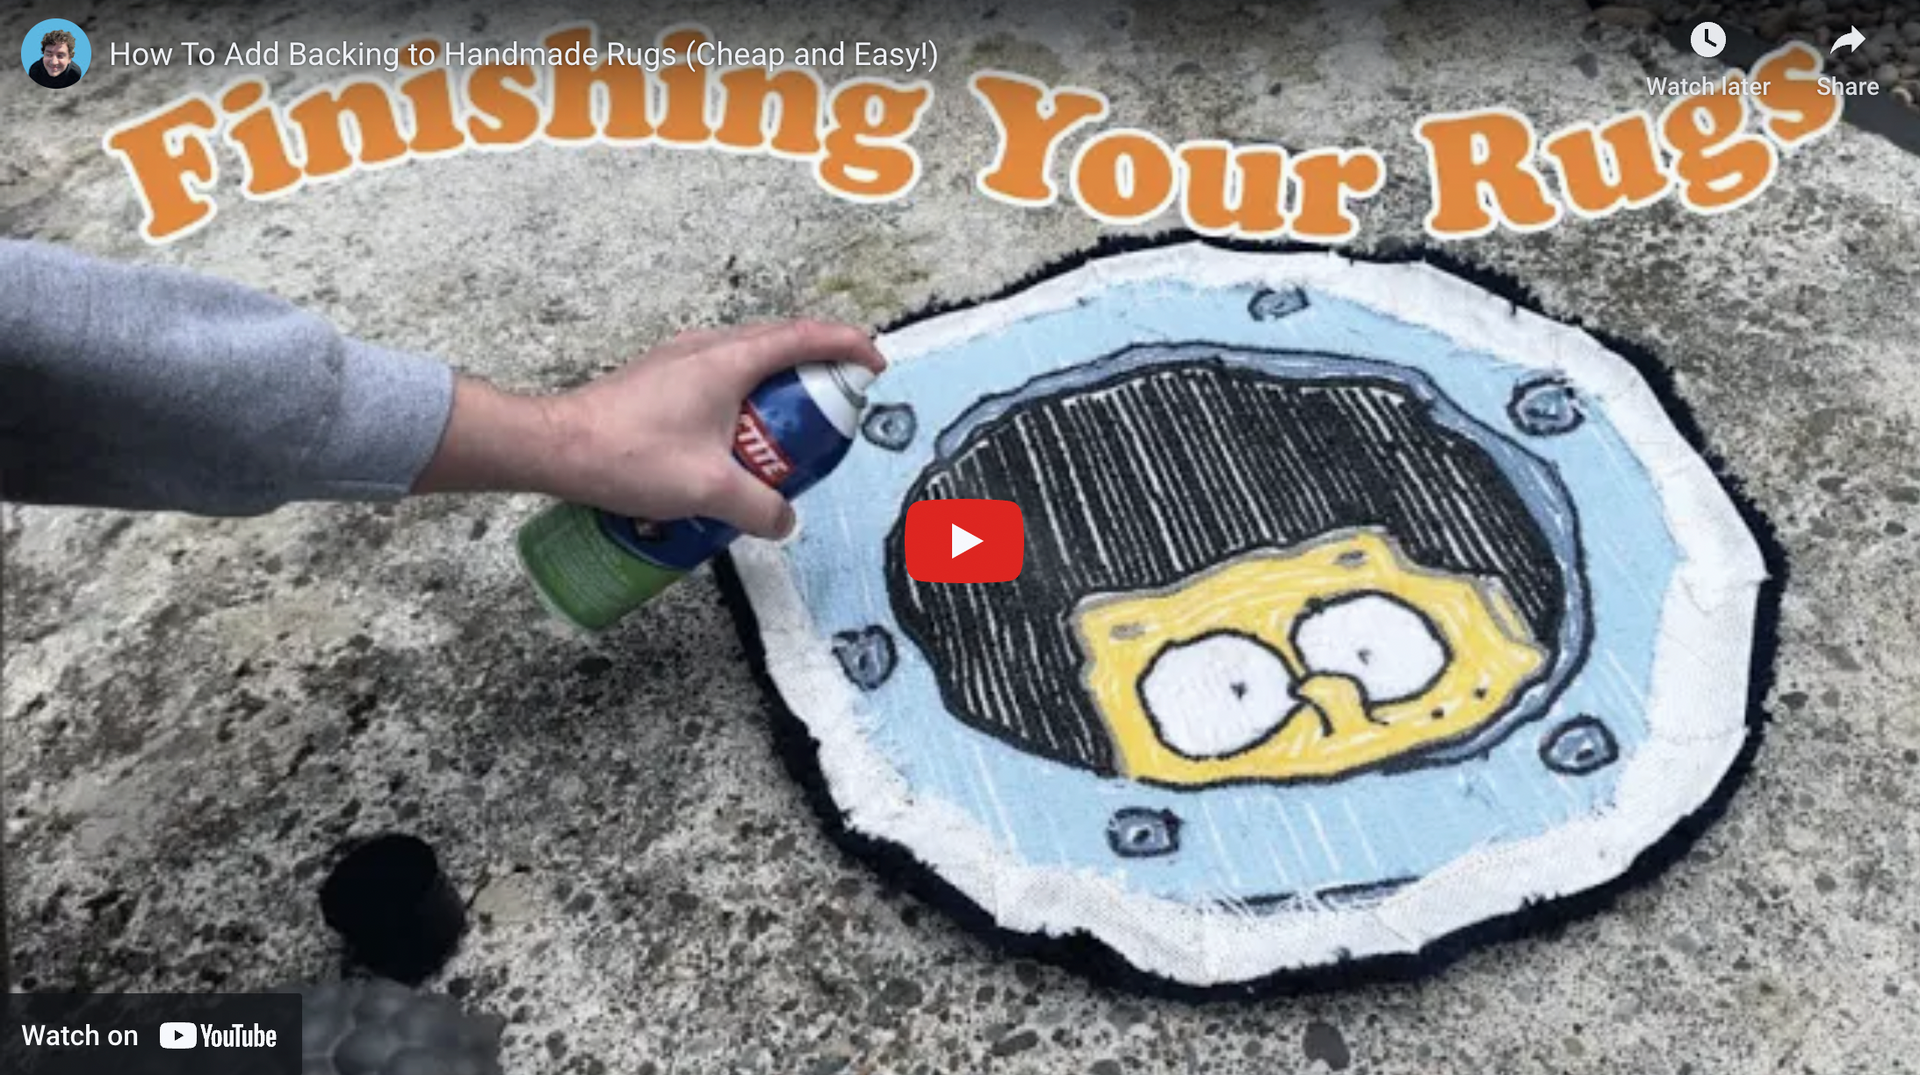
How To Add Backing / Finishing Your Rugs
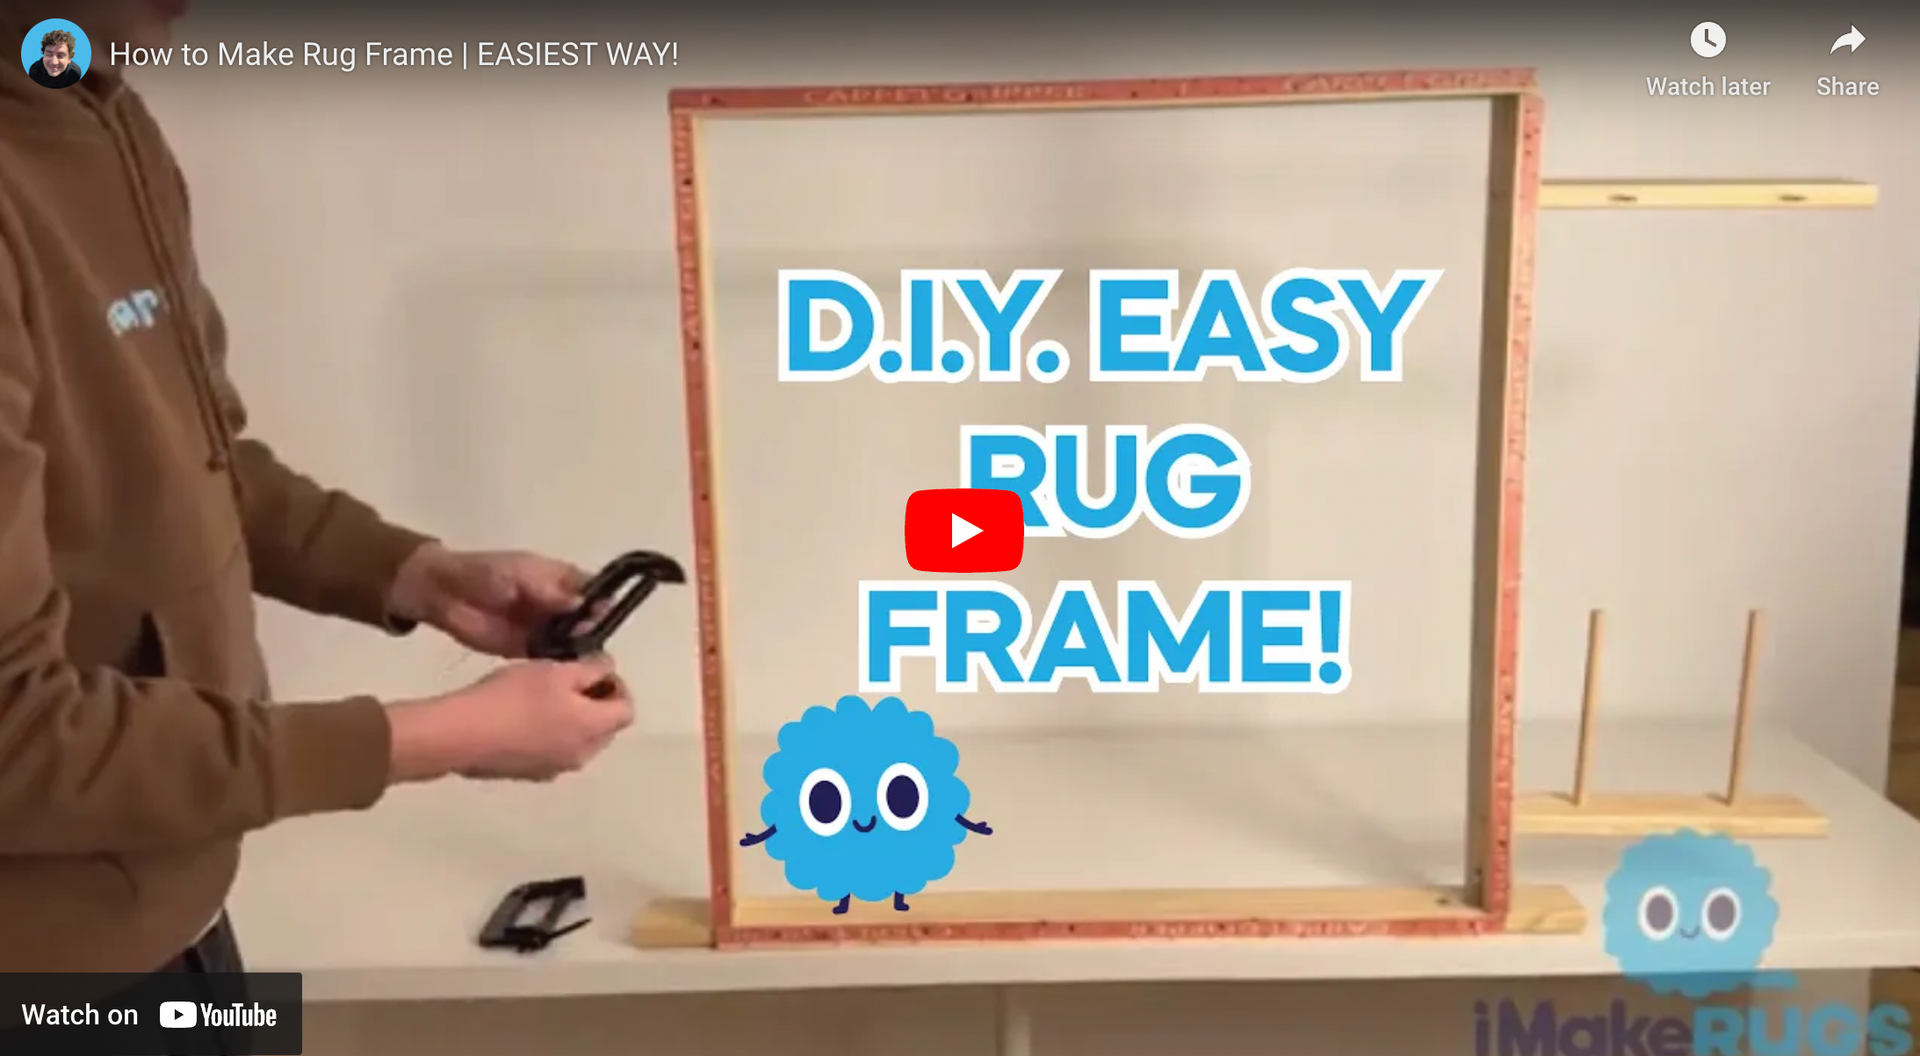
How to Make a Rug Frame | EASY!
Stop Yarn From Coming Out of Rug Tufting Gun!

iMakeRugs | Rug Supplies
Rug Making Starter Kit - Tufting Rug Gun, Frame & Fabric
Share
